Scheduler
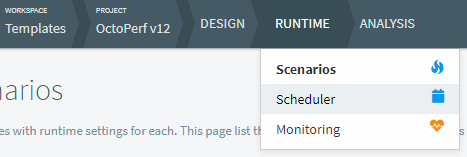
The scheduler page lists all your scheduled jobs. It is available from the upper menu:

A scheduled job runs load tests periodically.
Scheduled Jobs List

For each scheduled job, the list displays:
- The associated report name,
- The associated scenario (click on the scenario name to open it),
- The name of the report template,
- The date and time of the next run,
- The trigger description,
- The tags,
- The buttons to enable/disable a job or remove it.
Enable/Disable a Scheduled Job
To enable/disable a scheduled job, simply click on the checkbox under the Enabled column in the jobs list.
Remove a Scheduled Job
To remove a scheduled job click on the trash icon in the jobs list and confirm the operation when a dialog pops in.
Create a Scheduled Job
Tasks
The schedule creation process can be broken down in two main parts. First we need to create one or several Tasks to be executed as part of this schedule:

The following procedure explains how to create a task:
- Enter a Report name,
- Enter tags,
- Select the Runtime scenario to execute,
- Pick a Subscription if the default one doesn't suit you,
- Select if the test should stop on a particular alert severity,
- Click on Add this task.
Note
Tasks will be executed in sequential order, when one tasks ends, the next one is started without delay.
Cron trigger
The second step is to pick a cron trigger among the available options:

Once you have selected the desired trigger, just click on Save to create the schedule.
Scheduled Runs List
The scheduled runs table displays a list of test executions for the currently selected Job.

For each scheduled run, the list displays:
- The status,
- The creation date,
- The duration,
- The stack trace in case of error,
- A magnifier button to open the associated test report.