Collaboration Workspaces
Workspaces are used for collaboration between testers. A workspace contains several members with a role for each one:
- At least one Admin (he can add other members and edit the workspace),
- Testers can create new projects,
- Viewers can check the Virtual Users and test results,
- Test Executors can create / read / update / delete scenarios, execute scenarios and edit test results.
All members of a Workspace can utilize the resources of the Workspace - be it Virtual users, Tests Reports, Scenario configuration, private injectors etc.
Workspaces are a good way to have different groups of users work in isolation. While at the same time sharing some resources, like private injectors.
Here is an example of what you can achieve:

Typically admin@mail.com is an administrator, he doesn't have any project of its own. But he created a workspace to share access to a group of private injectors with others workspaces.
That way, he is the only one to be able to edit the provider, even if other workspaces have a admins in them.
On the other hand viewer@mail.com only has specific access to one project only ; probably read only but not necessarily.
Workspaces Administration
The workspace management menu is available by hovering on your workspace name in the upper menu:

From this drop-down menu you can quickly access the last 3 workspaces or the list of all workspaces that you are a member of.
The workspace list
You can also access the workspaces administration page by using the Workspaces link:

Workspace list actions
Several actions are available when placing your mouse over an existing workspace in the list:
| Icon | Action | Description |
|---|---|---|
 |
Open Workspace | Opens the workspace, redirecting you to its list of projects. |
 |
Edit Workspace | Opens the edition panel to let you change the workspace name, its description and members. |
 |
Delete Workspace | Lets you remove a Workspace in one click. All the projects of the workspace are also removed. This operation cannot be reverted so proceed with caution. |
Filter Workspaces

Click on the table or cards button on the upper right corner to switch the display of Workspaces:


From the table view, you can filter the displayed Workspaces using the table column header Filter fields:
- Name
- Description
Tip
You can also click on the column headers to sort the Workspaces. By default, they are sorted by ascending last modification date.
Create a workspace
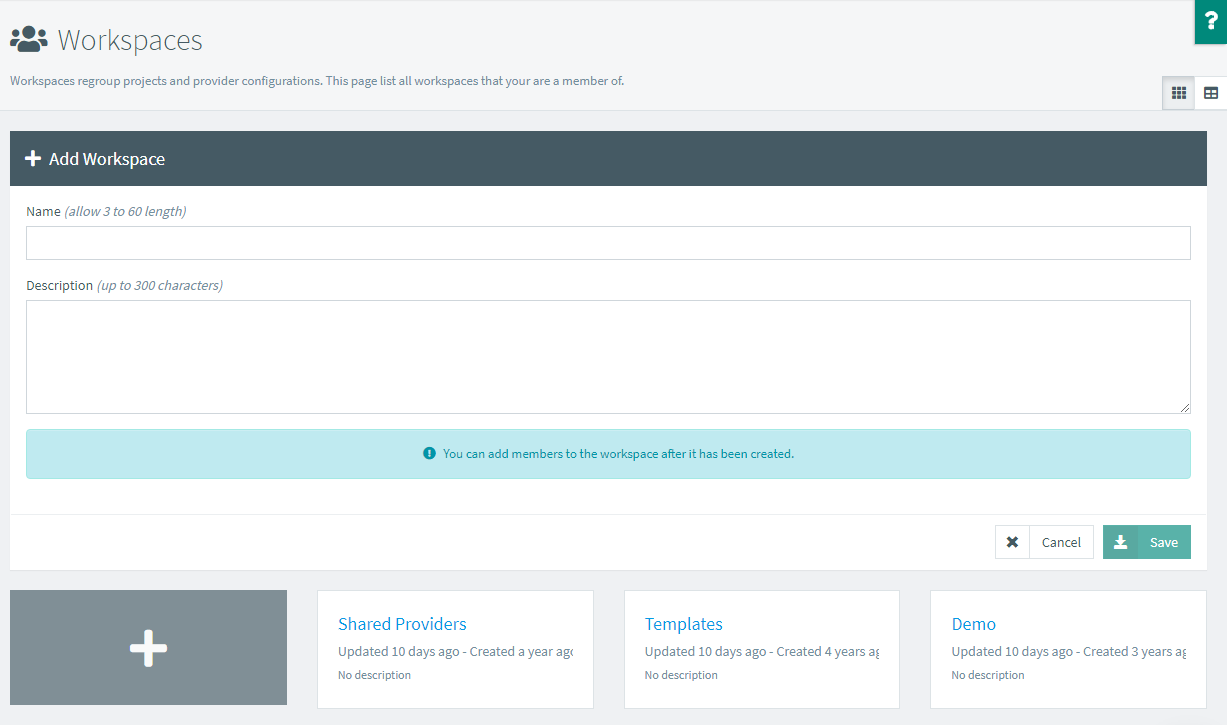
The following procedure explains how to create a workspace:
- Click on the big Plus blue button,
- The creation form appears on top of the workspaces list,
- Fill in your workspace name and description,
- Click on Save.
Tip
Once you saved the workspace you can edit it to add members. See section below.
Edit a workspace

The following procedure explains how to edit a workspace:
- In the workspaces list click on any Edit button
 ,
, - The edition form appears on top of the workspaces list,
- Under Add member, type the email address of the OctoPerf user whom you want to invite into your Workspace,
- The members list is updated with the new member,
- Select his role in the combo,
- Click on Close when your are done with added members.
You can click on the trash icons in the members list but keep in mind that at least one user with the Admin role must remain in every Workspace.
Note
You can only invite existing users. The mail at the right of the Add member import is here to help send invitations to OctoPerf.
Edit a workspace member
When editing a workspace member, you can select the Advanced role to give him access only to specific Projects and Providers:

The following procedure explains how to edit a workspace member:
- In the workspace members list select the Advanced role,
- The advanced edition form appears under the workspaces member,
- Click on Add project access, a new line appears in the form,
- Select the project Id and the access level (Read only or full access),
- Click on Add provider access, a new line appears in the form,
- Select the provider Id and the access level (Read only or full access),
Remove a workspace
The following procedure explains how to remove a workspace and all of its content:
- Go on the workspaces homepage,
- Place your mouse over the workspace you want to remove,
- Click on the Delete button that appears next to the workspace name,

- Click on Yes when prompted to confirm the deletion.
Note
Every user must have at least one Workspace. A default one is automatically created during connection if need be.
Warning
Deleting a Workspace deletes all the data it contains - projects, virtual users, scenarios, monitored machines, test reports, private injectors etc.
For that reason, deletion of a workspace is restricted to platform administrators only. When using the SaaS edition to have a workspace removed you must:
- add support@octoperf.com as admin of the workspace,
- send a mail to our Support Team to ask for this workspace to be removed,
- if we can confirm that you are administrator of this workspace, we will remove it and notify you.